Starting this thread to share a couple of pix of my first attempt at cutting/spigot ferruling a one-piece blank. Looking forward to the grey beards checking my homework and providing valuable input.
Context for this particular build: I have a buddy who's a niche micro-small stream brookie stalker who fishes sub-six foot rods exclusively to chuk meaty dry flies. He mostly buys factory rods, cuts them down and glues a new grip on - he doesn't even bother much with a reel seat ("why add the weight when two tie straps work just as well?"). I've read a number of threads here and elsewhere after many of you have built 'tadpoles' using Rainshadow Forecast blanks. This build is intended to be a 2 piece 5' 8" 4/5 WT niche build that was my first crack at splitting a blank. Here's a couple of good quick reads on tadpoles:
http://www.flyanglersonline.com/features/readerscast/rc457.phphttps://fiberglassflyrodders.com/forum/viewtopic.php?f=6&t=42119Building out a tadpole seemed like an affordable way to monkey with spigots, end up with something useful, and not invest a lot of cash before knowing how I did. This build utilizes
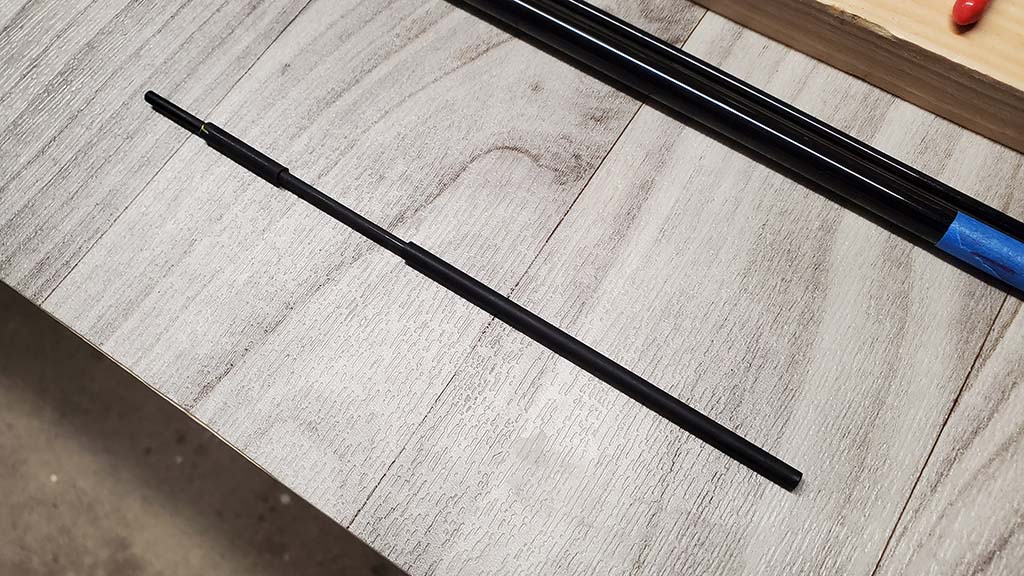
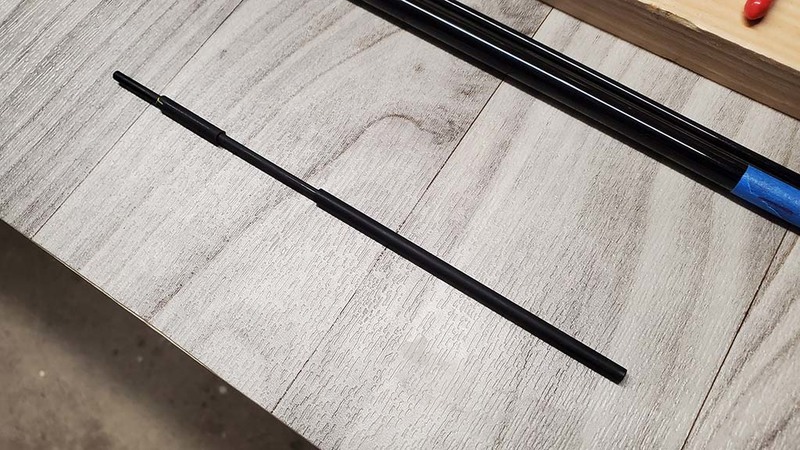
TWO SPG720 blanks - one for the rod and one to sacrifice for the spigot (finish blank and spigot blank respectively below). All-in on the two blanks with shipping I think I'm in about $50 and I have a good bit of tapered fiberglass left over for my next spigot attempt. Here's a great ref thread for creating spigots:
https://fiberglassflyrodders.com/forum/viewtopic.php?f=6&t=8679 (third post in this thread by flyfishing4goldentrout is an excellent step-by-step tutorial and acted as my main guide)
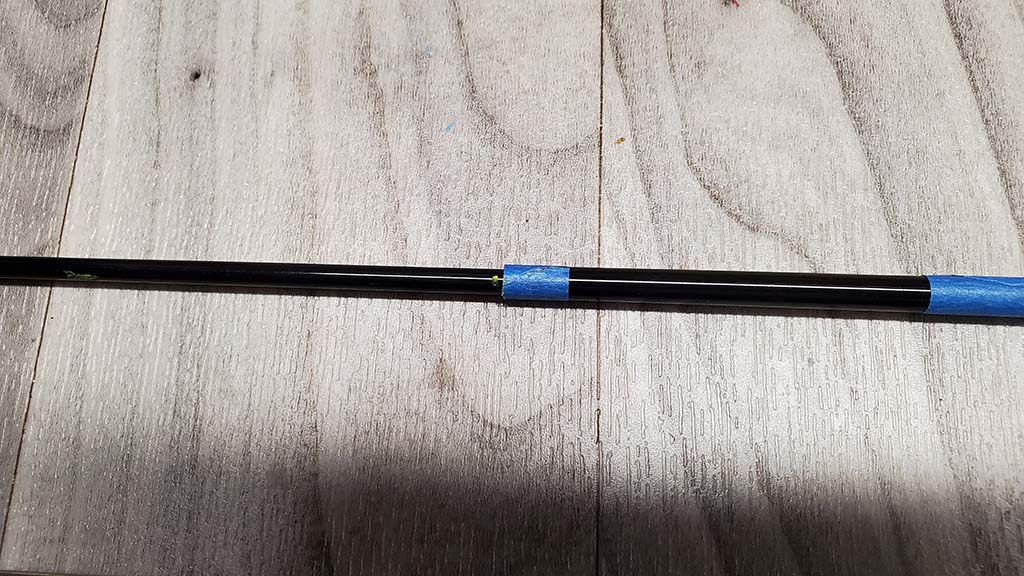
Step 1 was to cut the blank down to the desired final length of 5' 8" (68") before I did the more advanced math of trying to figure out where to put my break to end up with two sections that were dead even once I added the spigot. My spigot length target was 4-1/4" overall (2" in the lower half - 1/4" spigot gap - 2" in the upper half). I spined the finish blank at its final length. I also spined the spigot blank just for the hell of it.
 Step 2
 was to measure twice and cut once where my break was going to be. It took me a few mental attempts to realize that adding ~2" of spigot extending out of the bottom half resulted in me moving my cut point half that distance (1") closer to the butt end. Think about that for a quick sec: offsetting the cut 1" makes one section of the blank 1" shorter and the other section 1" longer. A 2" spigot extension makes up that difference. Just make sure you do all the mental math, aided by as much tape and China marker lines you need to make sure your sections end up the same length when it's all done.
 Step 3
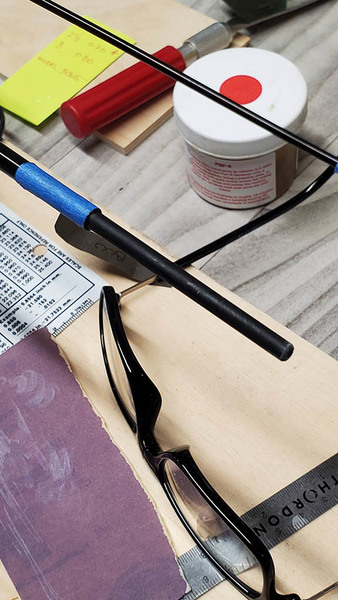
 was to square my edges using a fine file and sandpaper. Good blank housekeeping - always a necessary step since the taper of the blank in my hobby mitre box will always end with a slightly un-square cut.
600 grit is usually where I land for squaring my edges.
 Step 4
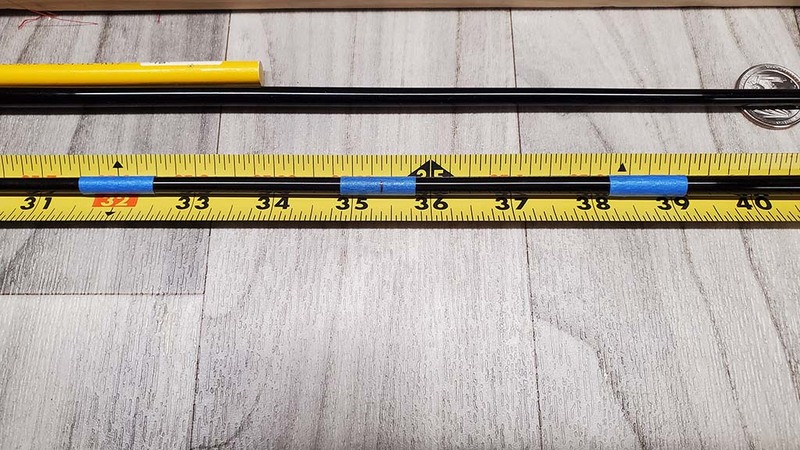
 was to run the spigot blank inside the finish blank, set it with a tiny bit of force, and mark it where it extends past the finish blank's butt-end cut.

I extracted the spigot blank and very lightly sanded the gloss off it where I intended to cut it. Just to be safe, I added a 1/2 inch on either side of my intended 4-1/4" spigot section. I used something fine here: 800-1000 grit just to take the shine off.
 Step 5 -- FIRST PROBLEM
 was to cut the spigot section off the spigot blank and test fit it by itself. Here was my first problem. When I ran the spigot back into the finish blank by itself with a straightened coat hanger, the spigot stuck out about 3" leaving only ~1" remaining in the butt end. I'm not sure why. I can't imagine the removal of the shine had that big of an affect. Maybe it did. Maybe there was some inclusion somewhere else along one of the blank's tapers that added a little binding. Whatever it was, my spigot was now too short on the butt end and I started weighing options that included ordering a second spigot blank and starting over.
Everything I read about spigots - using stock glass rods you can buy at Grainger, road reflector poles, whatever the key take-aways were always (1) a good fit - more importantly on the top end (you want a good fit on the bottom but your epoxy will fill a little inconsistencies) and (2) the spigot had to be at least as strong as the blank was at the cut. Since I was using a second blank with a matching taper for my spigot, I wasn't worried about the fit but I did consider doubling up the spigot's wall thickness to make sure I had the required strength.
With that in mind - and to fix my mistake once I realized I somehow mis-cut the spigot - I essentially double downed on my spigot. I cut another inch from the spigot blank (below my original cut) and used the upper section of the spigot blank to stent the two sections together with a good layer of epoxy.
 Step 6
 Re-cut my (now) compound spigot to length, broke the edges, and laid everything out one final time. After checking and re-checking everything, I thought it would be safe to create my 1/4" to 3/8" spigot gap and start mixing epoxy.
 Step 7
 was to neatly apply my epoxy from the cut-end of the butt, being sure I had epoxy in to the 2" mark without overdoing it.
 Step 8
 was to run the spigot in from the butt-end, push it in with my straightened coat hanger, and grasp the protruding end and set it firmly.
I read in another thread that at this step, the epoxy will - to some degree - act a little like a lubricant and the result will be the spigot will travel more than it did when you dry fit it. I did see that so next time, I'll plan for maybe an extra 1/4" of length on the butt end side.
 Step 9
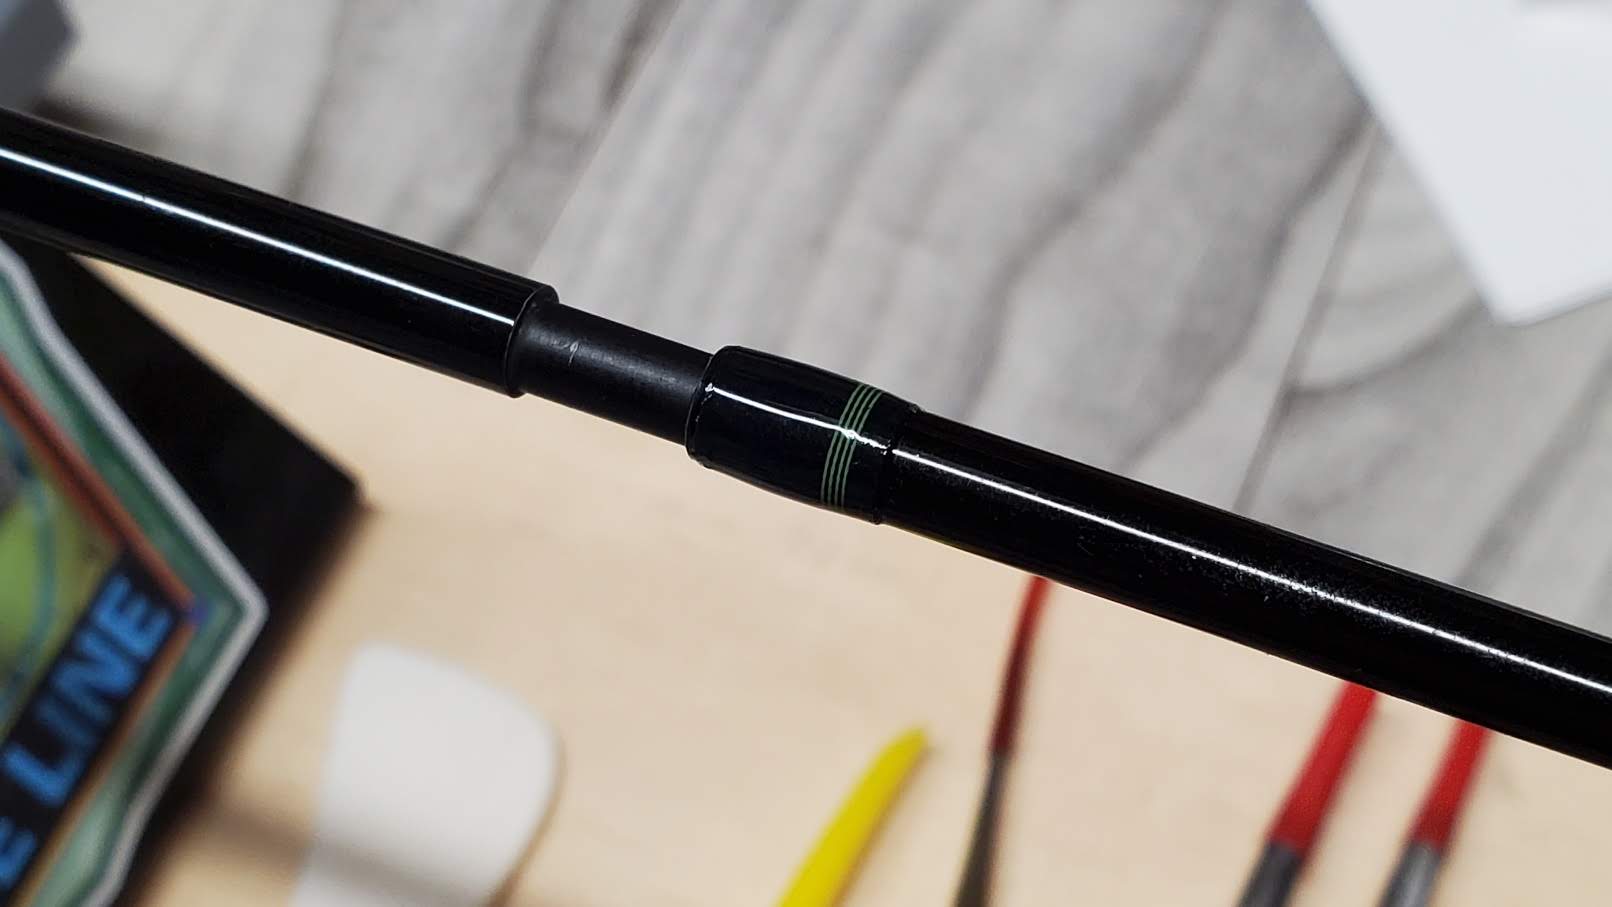
: Use a little DN Alcohol to clean the epoxy off the spigot extension. Check it for any obvious offset and try to correct it (there shouldn't be if your tapers are a close match). Let 'er dry.
That's about it. This build is still underway but I'm very pleased by how the ferruling went. This was another part of rod building I was intimated by by just like many other rod-building activities, just take your time and do your research before putting saw to blank.


Just to be 100 pct clear here, This pic shows my progress up to (but not including) wrapping the butt end of the finish rod. I still need to wrap the butt-end of the ferrule and so do you. I follow the standard 1.5x the diameter method but I usually round up to the next 1/8" just to make measuring easy when wrapping.
Hope this thread helps answer questions for anyone looking to tackle this step for the first time.