Hello
Managed to locate and down load another 75 pictures that were originally part of This Old Thread over the weekend.
Hopefully as the thread restoration continues some of you will chime in.
When the thread originally ran,received lot & lots of messages asking questions about what was being shared,that's Okay however it takes allot longer to respond to questions in multiple messages,also the rest of the community does not benefit from private questions and the information shared.
Also when originally posting this information, I'd wait for questions sometimes for a few days or as long as I could before I added the next segment.
This was to allow folks the time they needed to absorb the info or possibly emulate the work at home.
Wanted to make sure everyone including my class members had all the time they needed to work out any of the challenges.
Sometimes things needed to move faster when it couldn't be avoided.
Tight Lines And Next Installment Loops #2
Andy M
Post subject: Re: GARCIA 2 STAR BLUE PROJECTS
PostPosted: 09/11/12 11:16 • #4
Hello
Glad to help when I can.
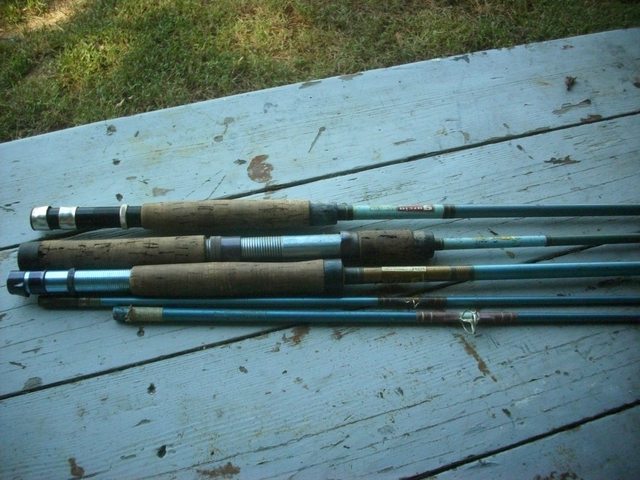
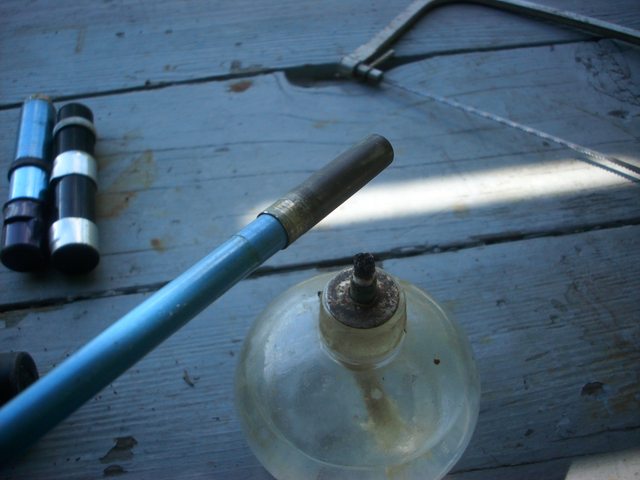
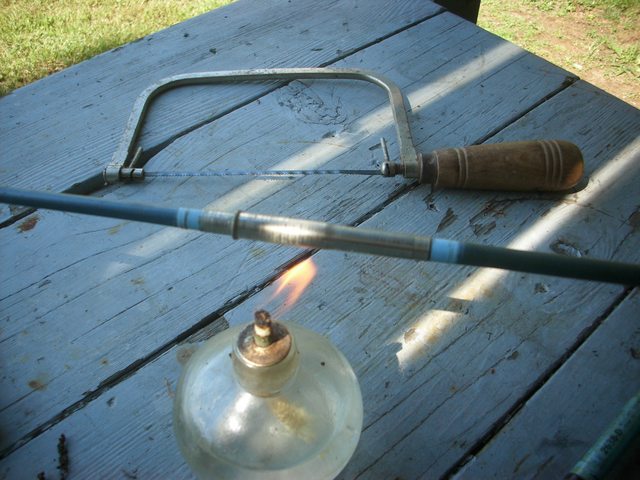
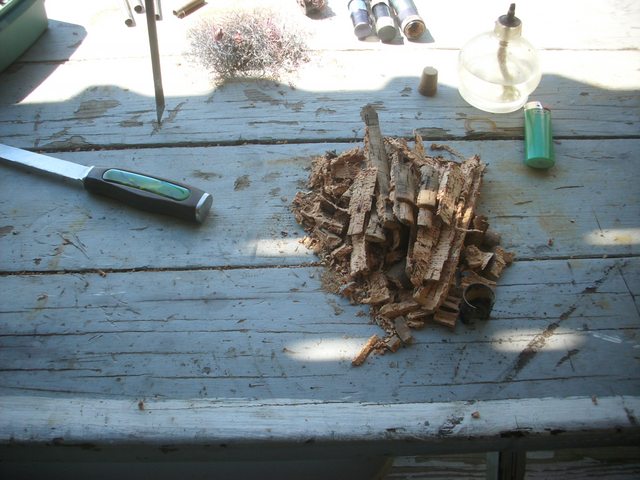
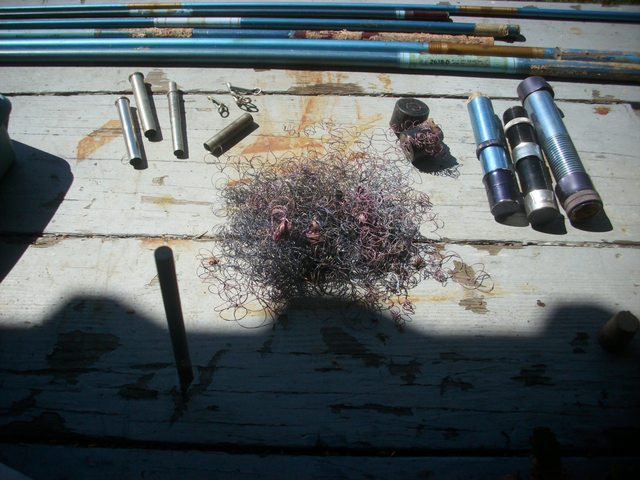
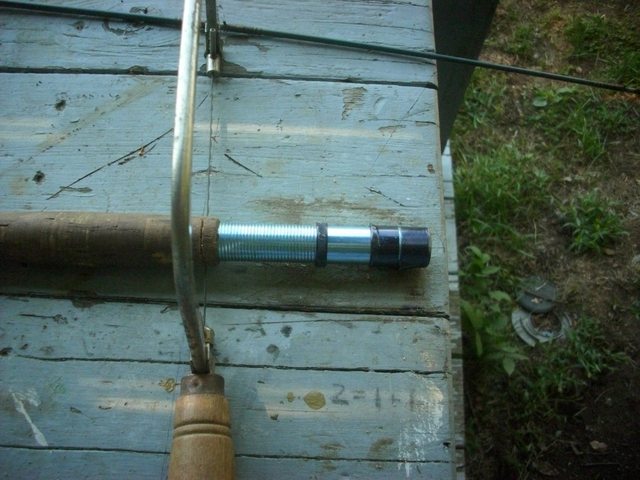
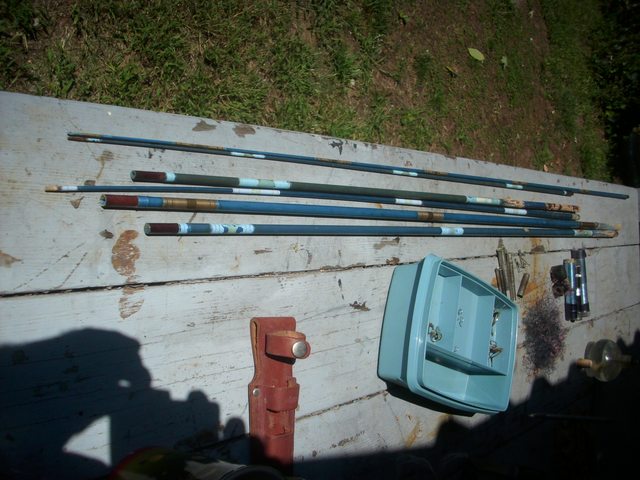
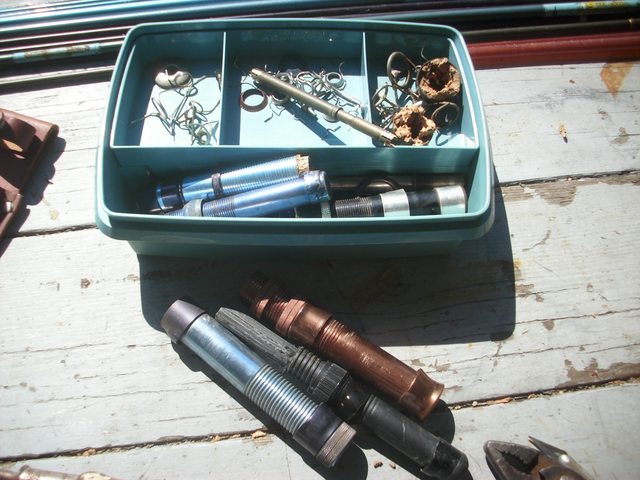
Wanted to retain the fly rod reel seats for reuse.
When I tried to get them both off neither would budge with minimal heat, I decided it best to just cut them off rather than risk distorting them with excess heat.
I find that when they don't come off easy they are going to bears to get off, most times when they are bears they end up taking more time than they are worth to get off, often they get buggered up in the process as well.
This way they are both in great shape and little time was spent removing them.
I'll leave them as is for now, before it's time to refit them I'll address the cut offs.
The spinning rod seat that I don't particularity care about came off with no problem.
Just the way it goes sometimes I guess.
Tight lines and chopped loops
Andy M
PostPosted: 09/11/12 16:03 • #5
Archfly
Glass Fanatic
Joined: 04/12/07
Posts: 1147
Location: western Massachusetts
Quote:
Hey Andy, great tutorial start!
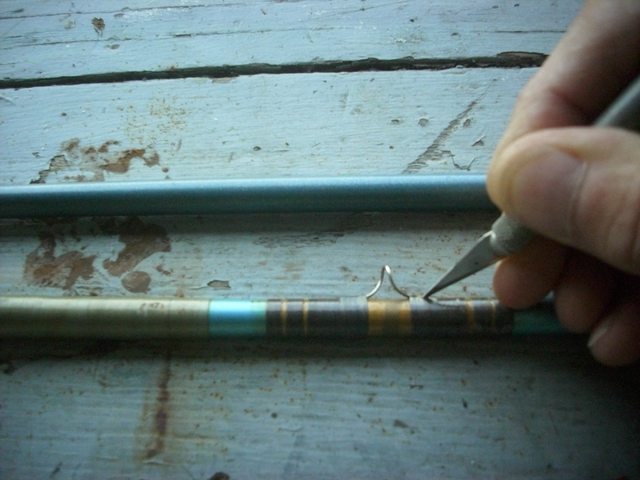
X-acto knives should come with 20 hrs. of health and safety training. They are the most dangerous knives you can use-they are light and super sharp. Before you know it the blade has jumped over the work and you are cutting yourself. Sometimes I think those break-away razor knives are better to use for most rodbuilding applications. I usually reserve the x-acto for cutting single thickness of paper or decals, or single strands of winding thread-nothing more.
The Glass Master Post subject: Re: GARCIA 2 STAR BLUE PROJECTS
PostPosted: 09/11/12 19:07 • #6
Glass Fanatic
Joined: 04/26/06
Posts: 3789
Location: Northeast Of Heaven
Hello
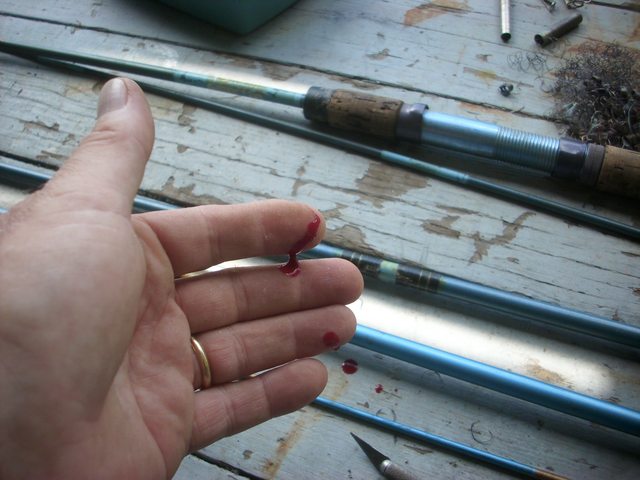
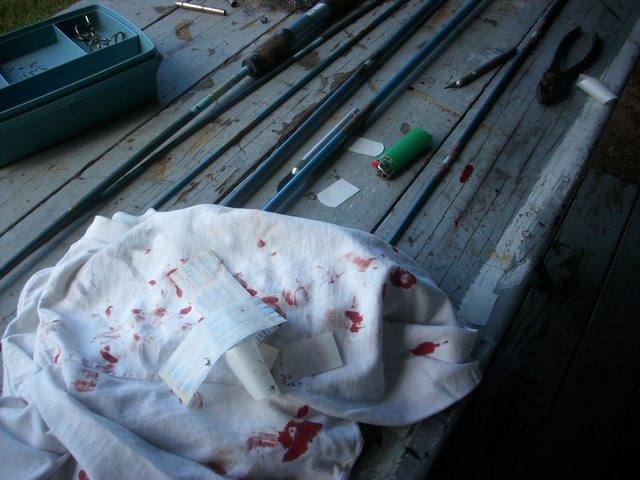
I think I have had my 20 hours of training with x -acto knives and have the scars to prove it ha ha, this just goes to show that even guys that have logged several thousand hours with them can still have an accident. They are one of my favorite tools I have at least a 1/2 dozen of them all set up with different blades, I also like surgical scalpels, razor blades and other sharp instruments, the sharper the better.
When I get around to wrapping the rod maybe I'll use blood red thread.
The reason I posted the pictures were to show what can happen even when you do work safe.
Tight lines and bloody loops
Andy M
nielson
Post subject: Re: GARCIA 2 STAR BLUE PROJECTS PostPosted: 09/11/12 20:32 • #7
Master Guide
Joined: 12/09/11
Posts: 888
Location: Athens GA
Quote:
This has the potential to become a classic thread.
Have you thought about adding a section dedicated to "What not to do?" or "Don't try this:"
Jim
The Glass Master
Post subject: Re: GARCIA 2 STAR BLUE PROJECTS PostPosted: 09/11/12 21:02 • #8
Glass Fanatic
Joined: 04/26/06
Posts: 3789
Location: Northeast Of Heaven
Hello
Now that's really

funny!
Tight lines and comic loops
Andy M
retiredfisher1
Post subject: Re: GARCIA 2 STAR BLUE PROJECTS PostPosted: 09/11/12 22:45 • #9
Joined: 01/02/12
Posts: 1522
Location: Gig Harbor, WA
Quote:
Andy - your pictures/threads are always something I enjoy. For the neophyte rod builder that I am, they are a great tutorial and inspiration. Roy
quashnet
Post subject: Re: GARCIA 2 STAR BLUE PROJECTS PostPosted: 09/12/12 01:43 • #10
08/18/08
Posts: 66
Location: US-MA
Quote:
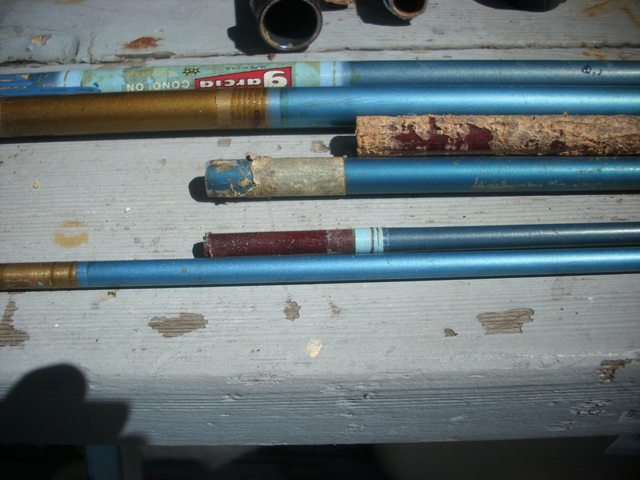
I still have the blue-blank Garcia Conolon 7'3" fly rod that I fished as a boy fifty years ago, and now I am happier than ever that it remains reasonably intact and fish-able as is. However, I will be very interested to see what can be done using these recycled blanks as a starting point.
Hello
Welcome guys glad to have you all on board.
As all ways lets all have some fun with this, any questions just ask I'll do my best to answer.
First I have to admit I don't like wet paint removers "strippers" for a couple of reasons.
First is they are messy, they stink and most importantly because most fiberglass rod blanks are porous thus the stripper gets embedded in the blank.
That's fine I guess for most and you can certainly wash the blanks afterward etc.
Another problem with them is when you clear coat or repaint the blank they have a tendency to compromise the new finish.
If I am just removing a clear coat finish I use denatured alcohol, or acetone as they do a good job and evaporate fully.
They do no harm to the blank fibers they store these materials in fiberglass containers fiberglass was used in air plane drop tanks with high octane airplane fuel remember..
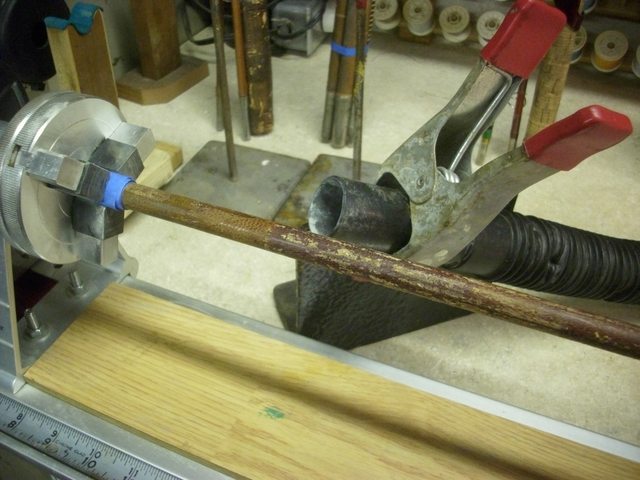
In the long run I find with paint the best method that I have found is dry sanding the material off.
Now this is not recommended unless you are set up properly and you must take safety precautions.
For example if I'm going to sand a number of blanks to alter the action I move the entire operation outside.
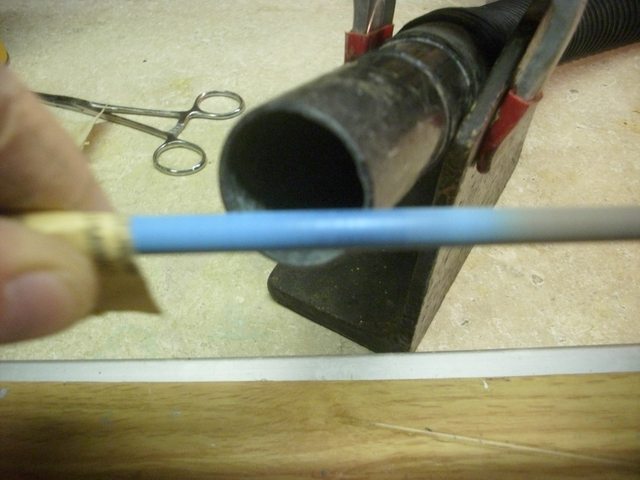
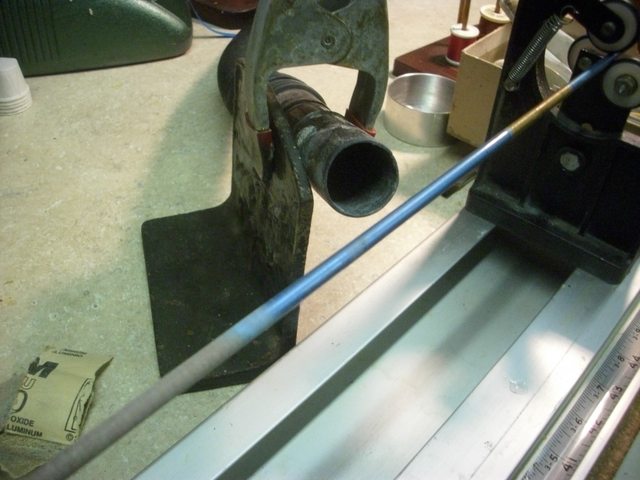
In this case of just a few sections I do it in the shop and use a vacuum to pick up the dust.
You can see I have fashioned a nozzle holder out of an old iron book end.
I ware a dust mask naturally I also run a second large vac in the space as an air scrubber of sorts as dust is not rod shop friendly.
On a side note I'm constantly cleaning my shop it's madding at times but a clean work space produces clean work is my motto.
Many moons ago when I first started dressing glass rod blanks I used a power drill clamped in a vise outside on the picnic table it worked just fine so you can perform this task with what you have on hand, just be careful as I have had blanks shatter and there is nothing worse than trying to pick out fiberglass shards from the palm of your hand etc.
So always ware safety glasses as well leather gloves are good too but I like to feel the blank it's important for me.
I use 80 grit, 150 grit, 220 grit, 400 grit and then scotch bright.
Never steel wool!
As I'm sure you all realize I'm not posting this in real time, the project is well beyond this point.
It's the only way to do this sort of thing.
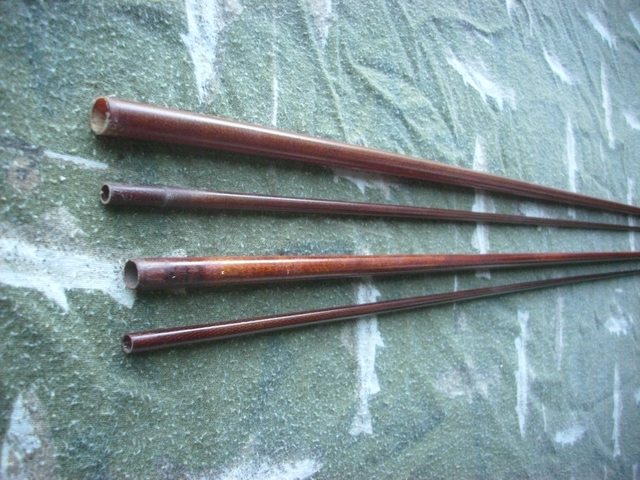
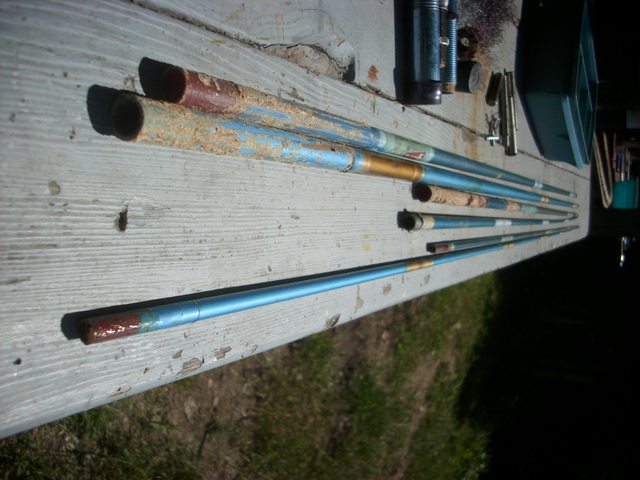
When I got these sections stripped I began to experiment with the flex profiles of the different sections to see what I could do with these rather than a simple remake of the original rod or rods.
In doing so I decided that I needed more sections so I added a butt section from an old 8' St Croix. And the short tip section from the same rod it was broken 5" up from the ferrule.
So what we are going to end up with is 3 rods a 6" 4" Garcia both sections a 6'2"Garcia butt and St Croix tip, and last but not least a 9'8" plus or minus the jury still out nymph rod with a St Croix butt section and Garcia tip.
Here are the pictures of the dressing process.
Tight lines and dressed rather than stripped loops.
Andy M
The Added St Croix Butt Section.

 https://images.fiberglassflyrodders.com/u/1/ir/wZQ2PS6l.jpg
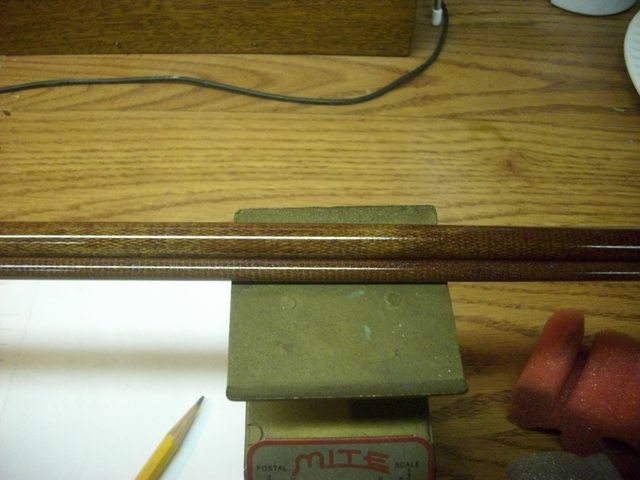
Stripper and Steel Wool Used To Show That They Have No Effect On The Baked On Finish Of Garcia Conolon Painted Finishes.
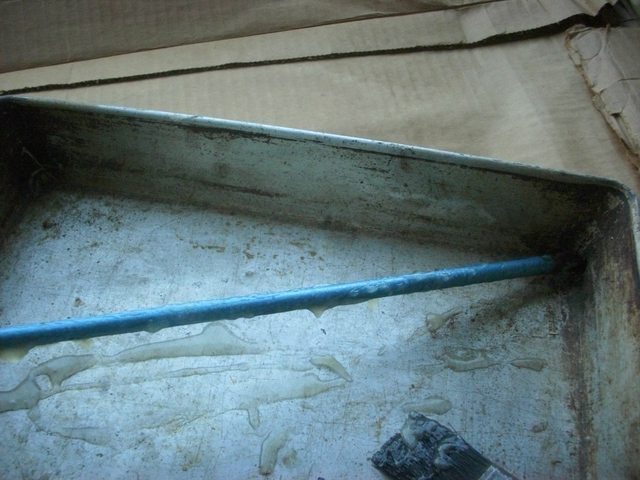
The Caustic Material Had No Impact On The Garcia Paint.
Dressed/Stripped and Clear Coated Blank Sections.
[
Please do not copy earlier topics into current posts then add images with obscure filenames to "complete" them. Email any missing images to "Admin", as you were previously asked to do. The email address is not a secret, but no emails will be publicly posted on this forum. Thank you, for your cooperation. ]


