Hello
PP52; Those thread and reel seat choices look very fitting,I know your going to have fun with this project,of course if you have any questions I'll be glad to help,just don't have time for beginners at this juncture,that was one of the things people never got about my friend Johnny,he used to call me all the time ranting about how the industry was abandoning the guys that Make Rods to put food on the table.
THANKS FOR YOUR QUESTIONQuote:
I have a question on the blue wrapped Orvis 7'6" midge you've remade. You mentioned adjusting the placement of the guides, but it looks like you've seen fit to add some in as well? It's hard for me to count in the picture you've posted, but it looks like at least 10 and as many as 12 guides (obviously you've positioned them so the change in the line angle isn't much at each one so it makes counting the ones at the tip hard to see) but Orvis originally put 9 guides on this 7'6" rod, correct? Is there science behind the choice you made that you'd share, or is this in the realm of art? I ask as the typical rod books state to start at "length in feet +1" for the number of guides, and I'm curious if it was casting or static deflection that convinced you to up the count.
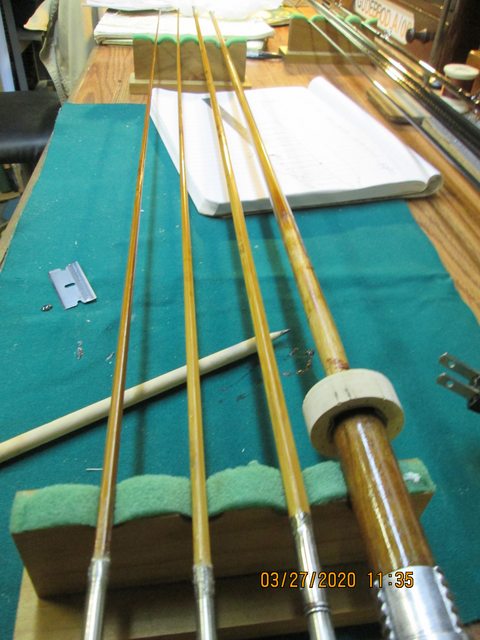
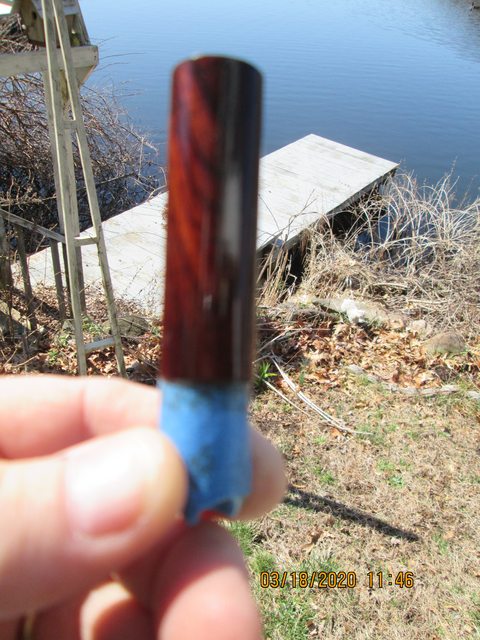
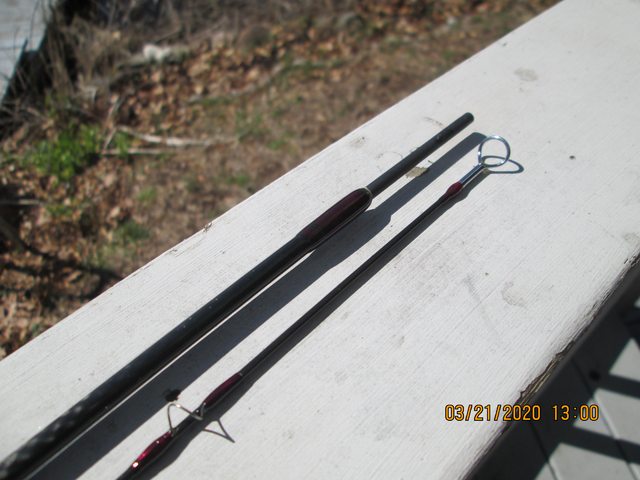
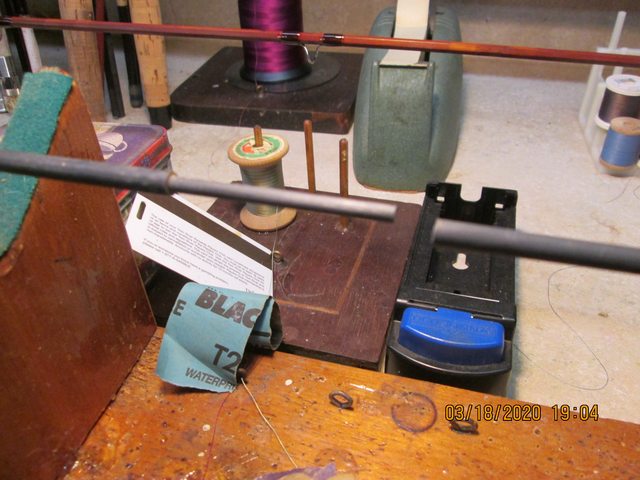
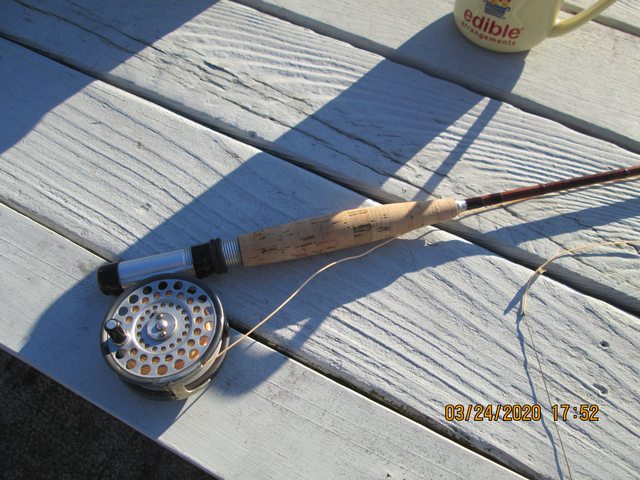
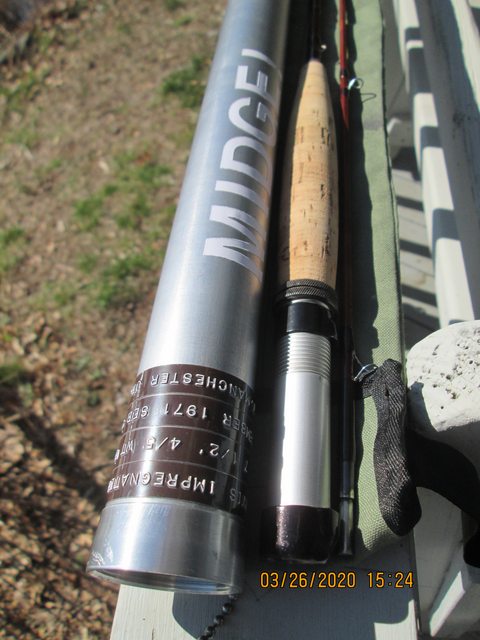
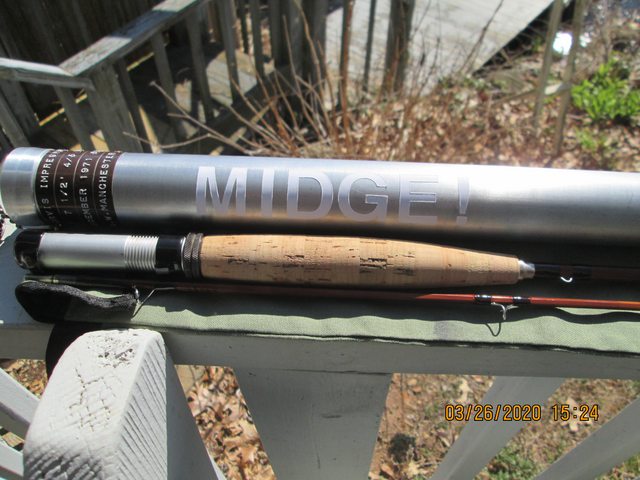
7'6" 2/1 Orvis Midge that I picked up,the rod from a while back with the blue silk thread,The rod was remade not refinished or refurbished remade,the rod had some issues with a old poorly done repair wrap above the male ferrule ,also had a area about 4" long where the corner edge of the blank was missing a splinter from a hook strike,very small so small you could hardly notice it,after my assessment, guide size and placement trials,my goal became to get this rod so it would be a trustworthy fishing tool for the next 50 years.Actually only added one guide,the guide about 8" in front of the stripping guide,without that Tamer the angle between the stripper and the first snake was at a very sharp angle,the test is not anything to do with static deflection,the guide placement and sizing trial was done well before the rod was finished,what I'm testing is to see if my 2 repair wraps are going to take the stress of landing or turning a fish without breaking.
Fortunately I'm confident that my goal to get this rod so it would be a trustworthy fishing tool for the next 50 years is realized,at least for now,we never know ??
I'll have to check how many guides my other Orvis Rods Have,I'll take you at your word.
Moving the guides was more to aid me in my blank repairs,by using the guide feet and wraps where they could be of more an advantage to the blank structurally.
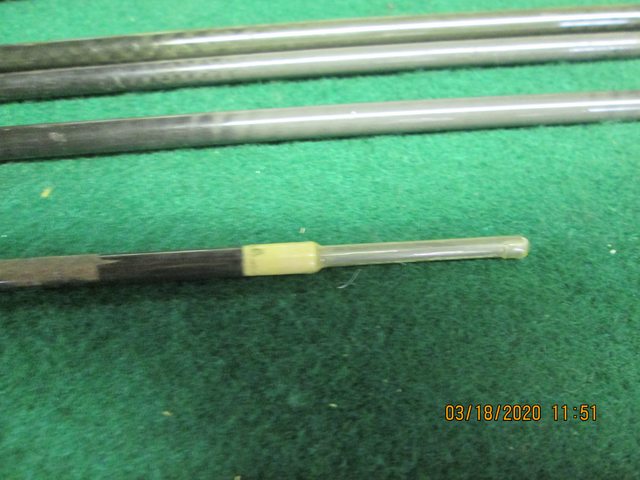
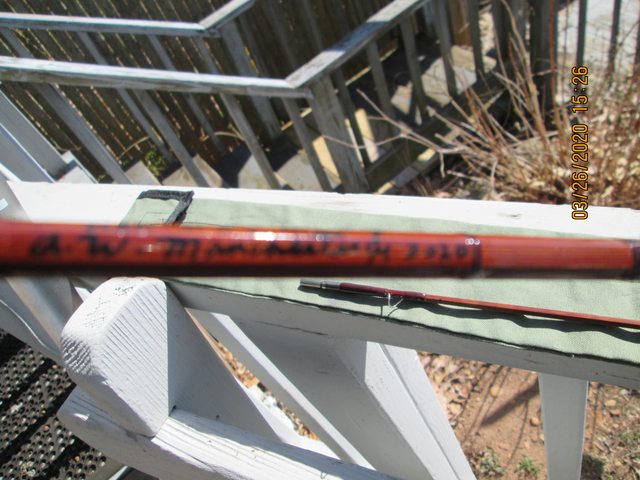
The guide that's usually about 3" above the male ferrule was moved to just above the ferrule conjoining the repair wrap and the ferrule and guide wraps.these slight changes in a guides placement made the repair a nearly invisible yet highly effective solution.
However now with the guide moved down 3" that made the distance between the next guide 3" greater.
I'll get back to that.
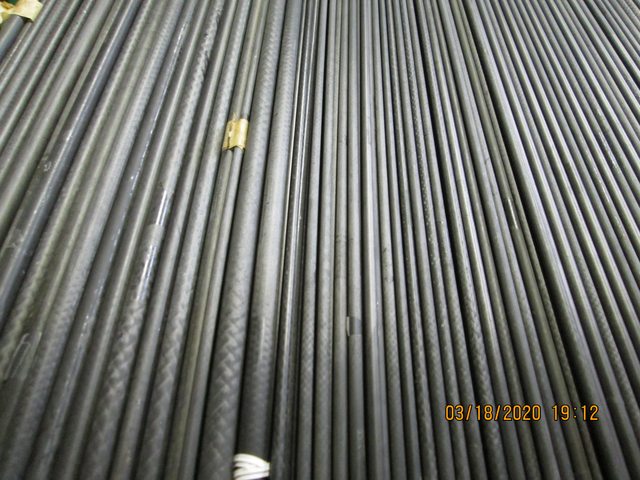
When you are working with a bamboo blank that has issues the best thing is to replace the effected section naturally,when replacement is not a reasonable solution,knowing how best to approach these situations becomes very important.
No 2 rod issues will ever be identical,so every repair is a custom repair.
Depending what the rod maker has in his tool box makes the difference between a lasting repair or a rod that sits in a tube for 15 years waiting for the right guy to come along and put humpty dumpty back together again.
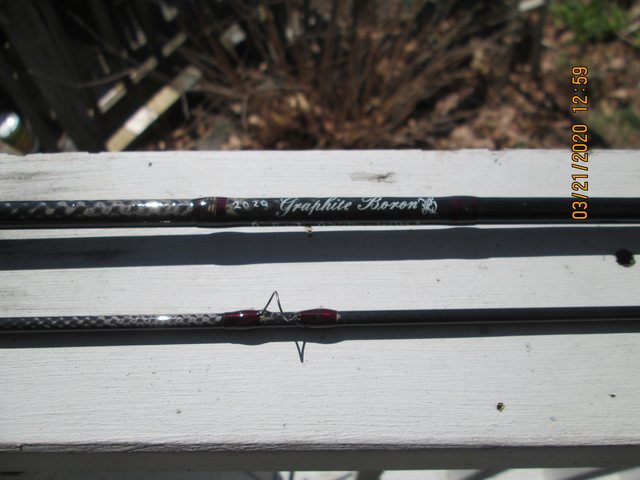
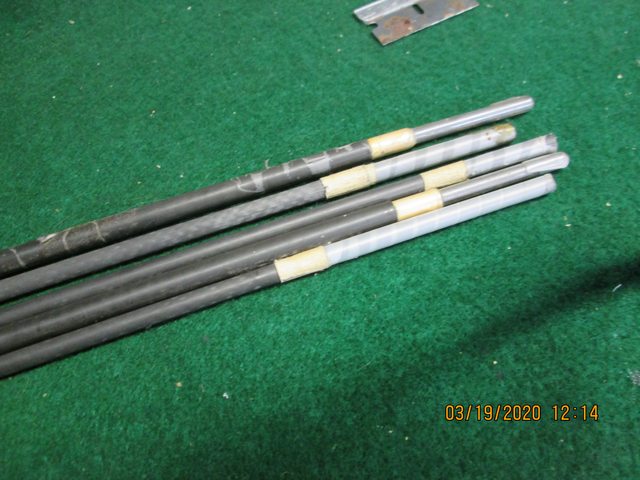
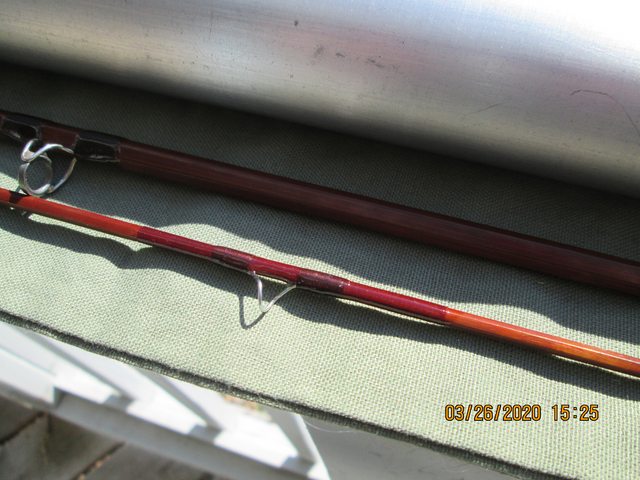
The hook strike was smack dab in the center between two guides 3rd and 4th from the tip top.
the splinter was long gone,after looking at the splinter under my glass it was apparent that this was what had sidelined the rod.
Taped off the splinter on either side and used some of my wood hardener,3 or 4 coats,next was a coat of epoxy and some light sanding afterwords to get everything smooth.
The brown silk repair wrap was next followed by 2 coats of thinned epoxy.
The repair wrap at the ferrule got the same exact treatment.
Sorry for jumping around,next after the repairs were fully completed and now I was working with a bare repaired tip section ready to have the guides sized and placed.
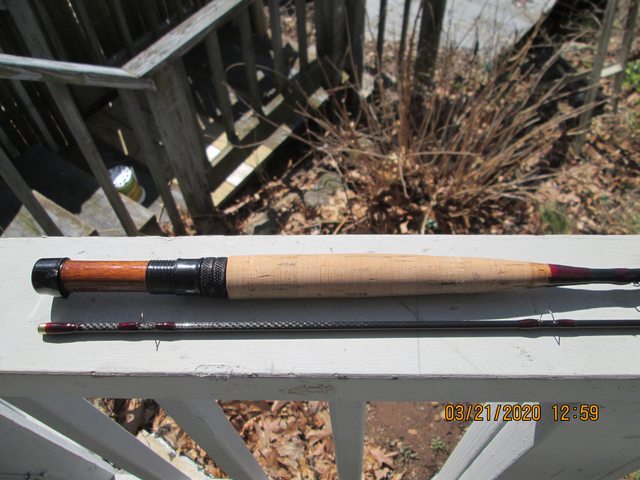
At this point you should know the Butt section was completed and the tip bare,decided the opposite plane for the guides looked like a better foundation for the guide feet,the tip had a lazy mans set.
Looked like someone fished worms the way the tip laid

All funning aside is was when I had the guides taped on that I spun them around to the opposite flat and the rod felt much smoother.
Had two predetermined guide placements
Guide A just above the ferrule and
Guide B Smack Dab Between #3 and #4
Those were constants so the rest of the guides needed to be sized and placed from a starting point with 2 known locations.
Realize some people stress over number of guides,charts,recommendations,forget all that junk,the rod blank will tell you where to put the guides and how many guides it wants if you speak the blanks language.
Factory rods will usually have the least number of guides because the more guides the more time and money it costs to make the rod.
Basically to keep this from getting into one of those debates I got out my measuring tape and took some placement measurements starting from the ferrule guide and taped the next guide on 7" away if memory serves me right ,next one 7 1/2" and so on until I got the the tip repair guide,then I moved them all a little to make things more evenly spaced,did a deflection test,moved them as needed,more tests,some casting,changed sizes,more casting,changed sizes again,moved them to the opposite side,another change in size and a couple of slight location adjustments.
When I felt satisfied that I had gotten it right put the rod aside for 2 days,then took it back out and cast it again,changed the tip top to a smaller loop,got going by dressing the guide feet and went to work wrapping the tip.
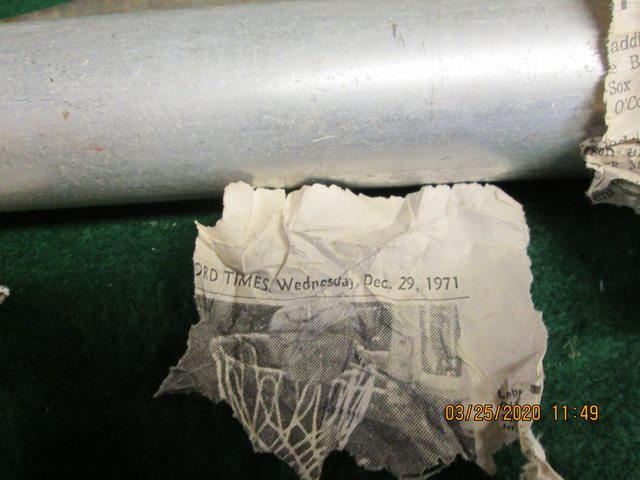
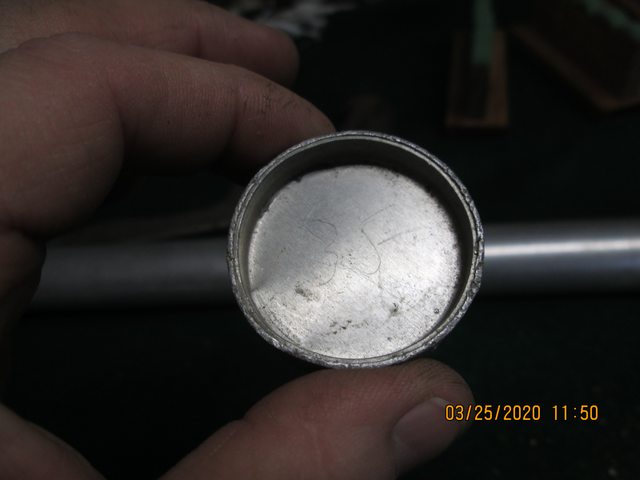
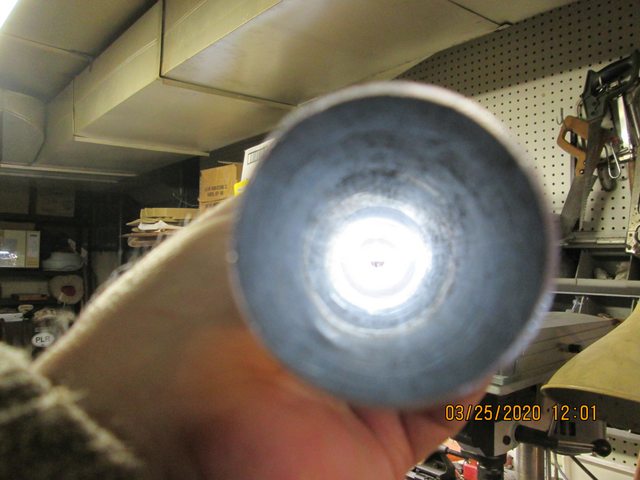
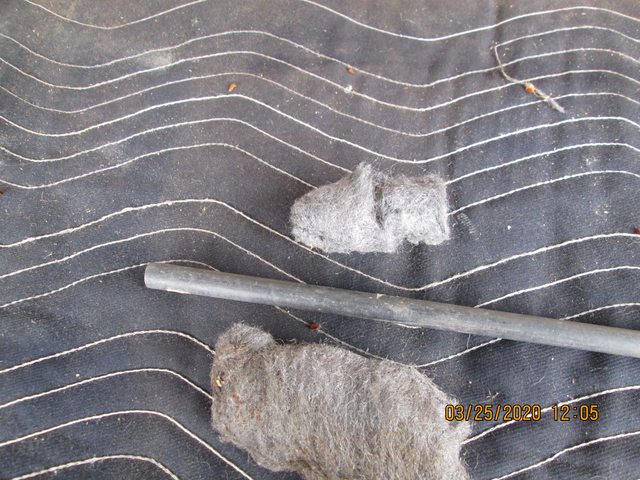
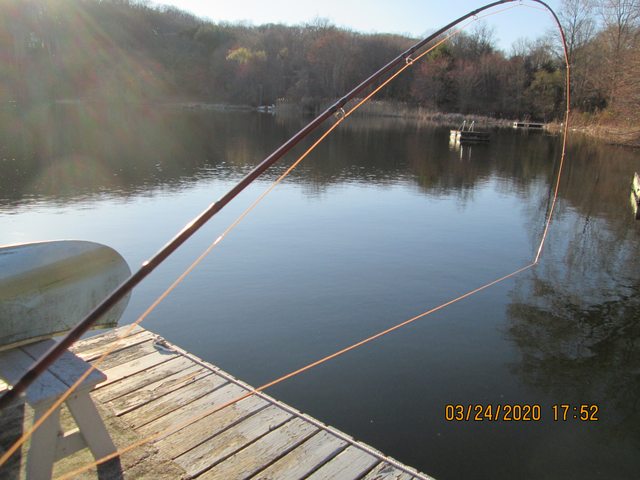
Finished the rod waited a couple more days to make sure everything was cured and took the rod out and cast it, fooled around with some different lines,took some pictures did the Land A Lunker Test,it passed and went to work getting the tube cleaned up.
That about brings us up to date maybe a few more pictures ???
Hope I answered your questions !!!Thanks Again For Your Interest.
I'd venture to guess that my repairs are maybe stronger than the rest of the rod ??
Wish I had The next 50 years to find out.
Tight Lines And Whats On Your Bench Loops
Andy Man
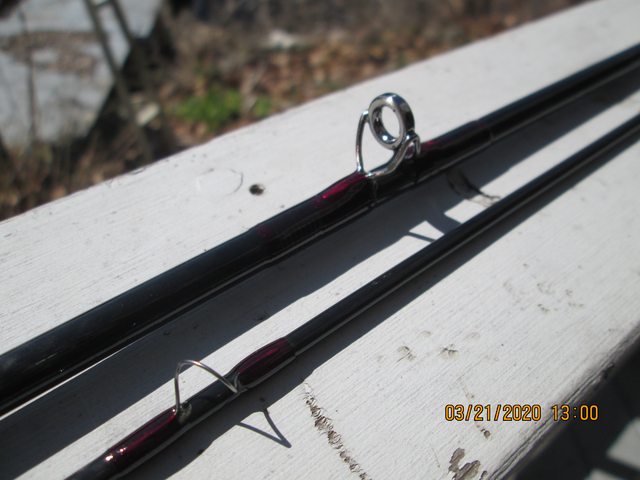
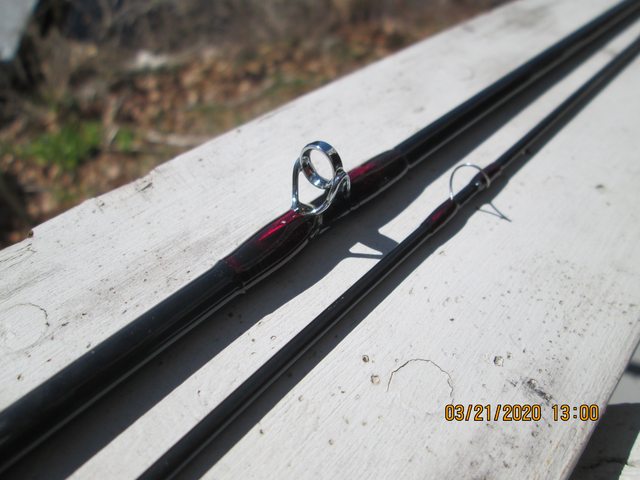
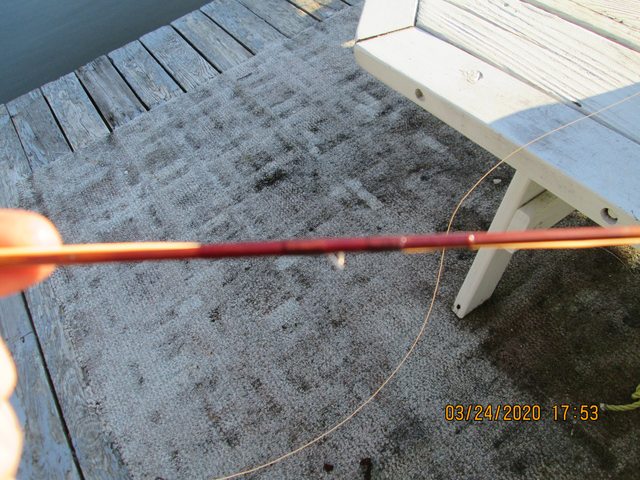
Tip Repair Guide
B
Guide
A At The Ferrule Repair see if you can see the repair wrap between the guide feet?
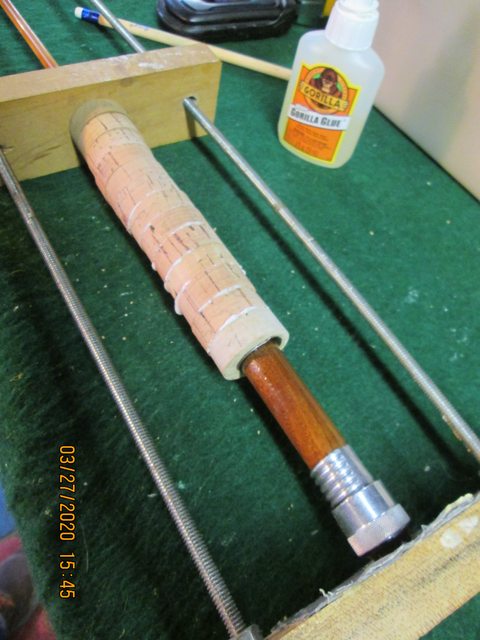
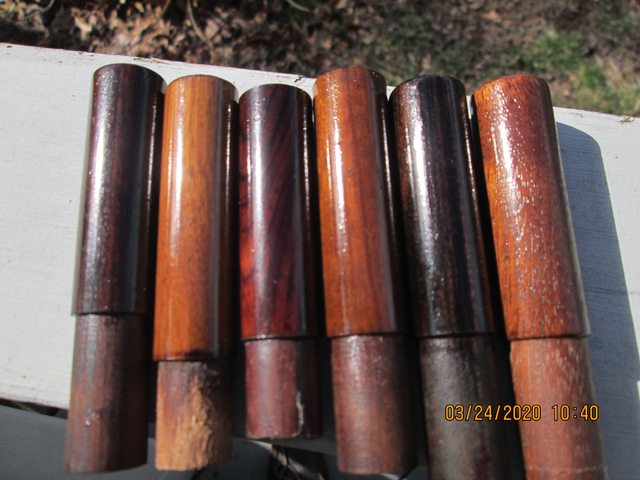
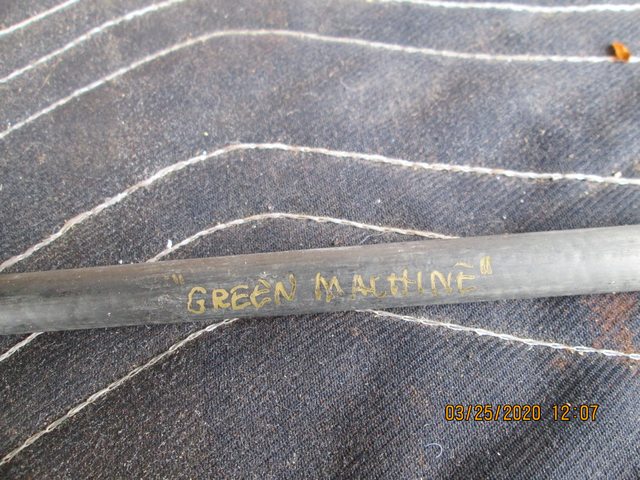
Next Up 8' 3/2 Gene Edwards 5 Weight Restoration,this was a rod that came in that someone had done a hack-job on,one of the worst refinishing jobs, a complete travesty,I'm doing a complete restoration when the rod finished it will be back to acceptable standards at the very least.